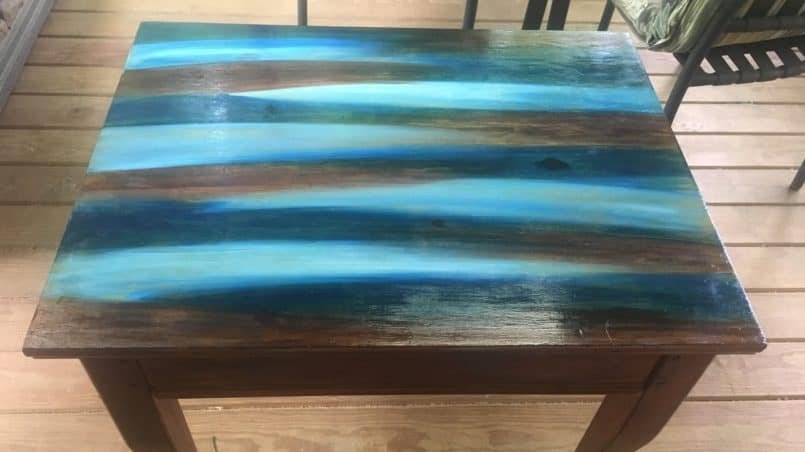
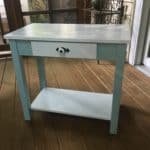
I love playing with the colored water based gel stains. It brings me back to finger painting and just having fun with color. I wanted to experiment with a small table since the flat surface is ideal for using the stains and it is a small piece that can be completed in a couple of hours.
The first step was to find the table. I wanted clean lines since the colored stains would make it busy enough. I found the perfect one through Facebook Marketplace for $5. It was a light wood and basic shape so it would work nicely.
Prep
The first step was to sand the top, sides and legs to remove the glossy finish and smooth out any bumps. Then I taped off the sides of the top (with painters tape) so I could keep the stain on the top of the table.
Once I was down sanding, I vacuumed the pieces to try to get as much of the sawdust off as I could and then wiped it down with a slightly damp lint free cloth.
Stain
The stains I used for this piece are from Unicorn Spit and are great since they are water based (easy to clean up), non-toxic (so you can use your handles to spread), easy to apply (has an applicator tip) and the colors are fantastic. You can even buy a full color kit off of Amazon.
 I used Teal, Blue and Brown for this project.
I wish I would have taken more photos during the process, but my hands were a bit of a mess, but I put dots of the stain (about a quarter size circles on both side of the table top – trying to alternate colors and make sure colors were not directly across from each other. Then spritzed the whole table top with water and then just took my hand and dragged it across the table pushing the stain with my hand going with the grain of the wood or veneer. I wiped my hand off (with my favorite tool – baby wipes) between each swipe and keep pulling the stain toward the center. This gave me by base design.
Once I had the pattern done since I could see finger prints and places that needed more blending into each other, I added more to spots that needed. If the blue wasn’t enough in an area, I added more blue and spread it across in even swipes (taking care to clean my hand in between each one). Then I let it dry.
Letting it dry is important so you can see if there are any spots that still needed color or any corrections that needed to be made. I saw a few spots so I just added some more stain and fixed those areas. This stain is very forgiving so you can keep tweaking with it until you are happy with the final product.
Once the top was done, I used the same brown stain to cover the sides and legs so they matched.
Sealing
The final step was to seal the table with Polyurethane. I used Miniwax oil based polyurethane so it doesn’t disrupt the water based stains and used 4 coats to give it a good shine and protect the finish.


