

One weekend I decided to tackle the unorganized mess that was our laundry room. Now if you go on Pinterest and look at some laundry room ideas, they are absolutely beautiful. Since my laundry room is in an unfinished basement with exposed pipes, wires, and circuit breaker box, I chose at this time to just clean, organize, and use some pretty jars. I went hunting for some jars so I could demonstrate how to make labels with Cricut vinyl to organize and pretty up a space (that wasn’t pretty to begin with). At some point in the future, I am going to make it look prettier with paint and cabinets.
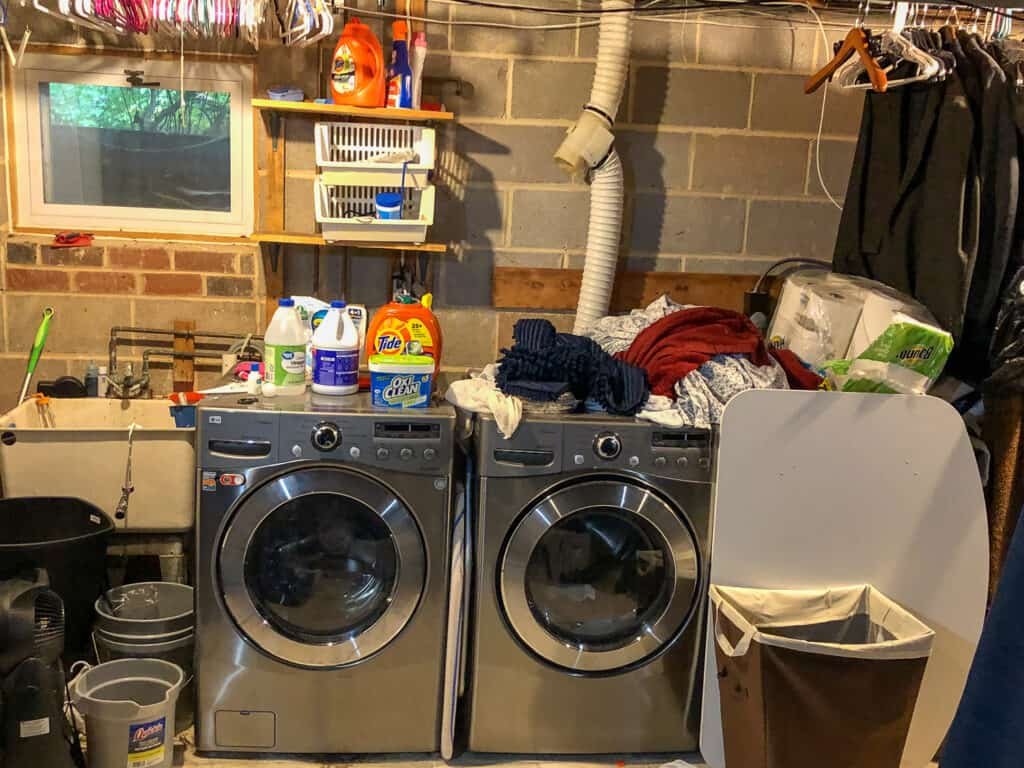
Before Photo of Laundry Room
Here is what my laundry room looked like before (a bit embarrassing, but very real). We had laundry soap and bleach containers haphazardly collected in various areas and things like blankets and with no place to go. I knew this could look a lot better.
The first thing I did was just clean everything really well and moved items into piles of things (keep, donate, throw away).
I then took inventory of what I had and what needed containers. I needed three large jars (laundry pods, free and clear laundry pods, laundry booster powder), three small jars (bleach pods, clothes pins, washer cleaner tablets), two large containers (miscellaneous items that would look better tucked away and dryer lint). If you are wondering why I collect dryer lint instead of just throwing it away, I use it to make fire starters for our fire pit).
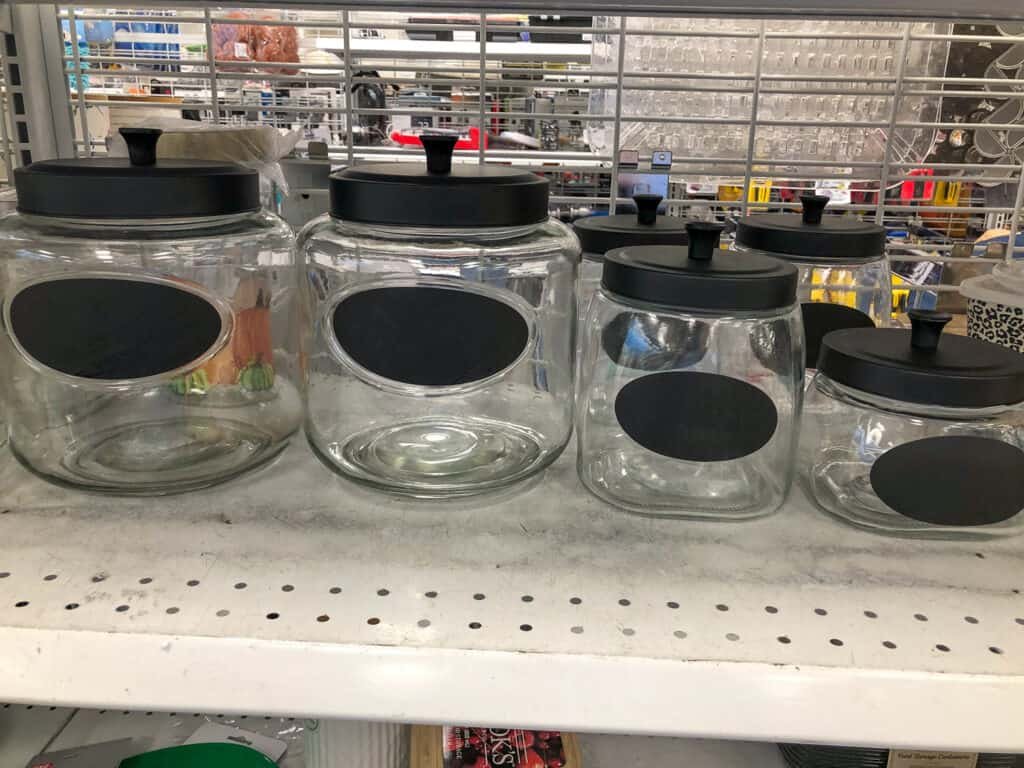
I then went hunting for jars to use. I found these great jars at Ross that were $6.99 for the big ones and $4.99 for the small ones. I liked that they had the black oval chalkboard background to put the label on top. I also found some containers with lids that would work well. Lastly, I saw a black wire basket with a liner for extra items like stain remover spray, liquid bleach, etc.).
How to Make Labels with Cricut Vinyl for Jars and Containers
To demonstrate how to make labels with Cricut vinyl, I am using this large container I bought. I chose the permanent sticky vinyl in black for the letters and chose and measured the flat surface of the side of the container. I measured 7.5″ wide and 4″ tall. I used this to be the maximum size of the letters.

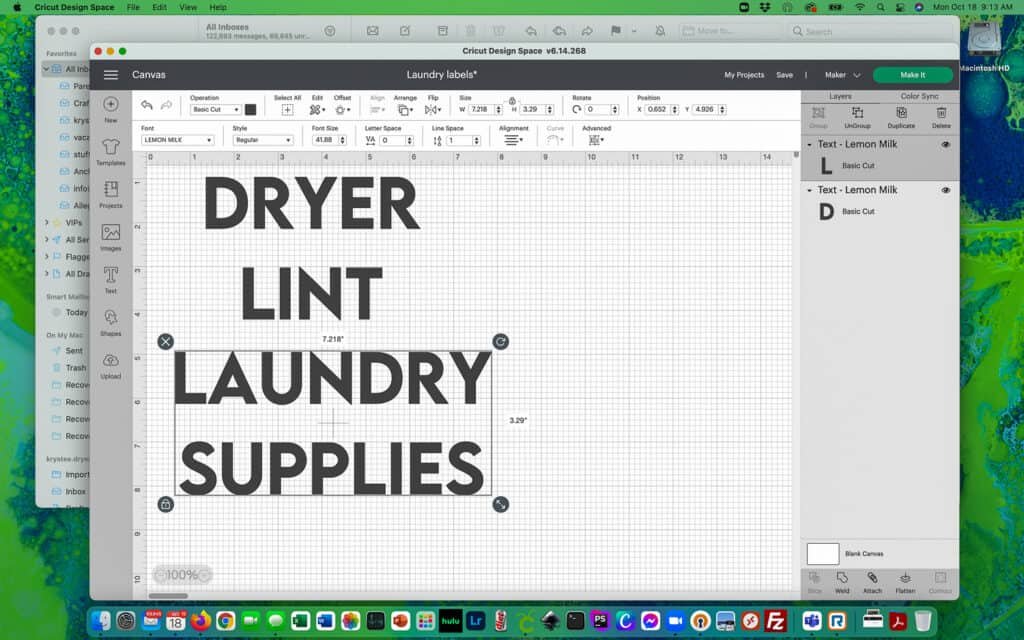
Next, I opened Cricut Design Space to an empty canvas. I decided to use the Lemon Milk font since I liked the clean bold lines of it. I wrote out the words “Dryer Lint” and my other label “Laundry Supplies”. Since I knew the word “Laundry Supplies” is the largest word length, I used the arrows to resize it so it was a little more than 7″ wide (which made it less than 4″ tall). Once I had that sized, I noted the font size and then selected the word “Dryer Lint” and made the font size the same. This will make the labels a different width, but it will look more cohesive since the letters are the same size.
I then selected both items and used the Meld feature to make them one image. This makes is easier to print since it keeps the layout the same which makes it easier to use the transfer tape on the printed vinyl. Otherwise, they tend to squish together which makes it hard to cut around them.
I then loaded my vinyl piece on the mat (black side up), chose Make It, loaded the vinyl/mat into the Cricut cutter and then followed the prompts for the Cricut to cut.
Once I had the vinyl cut, I removed it from mat (tip: curl the mat back when removing and not the vinyl so the vinyl itself doesn’t curl), I removed the excess around it and weeded out the center of the letters of the backing paper so I had the letters ready.
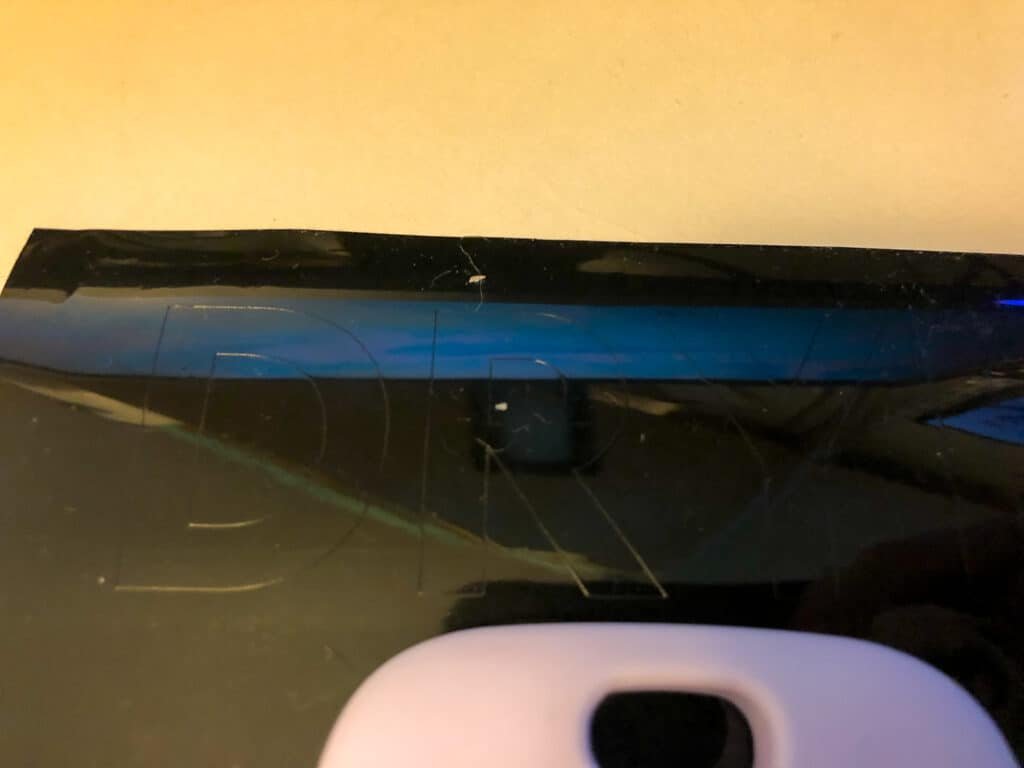
Vinyl cut letters 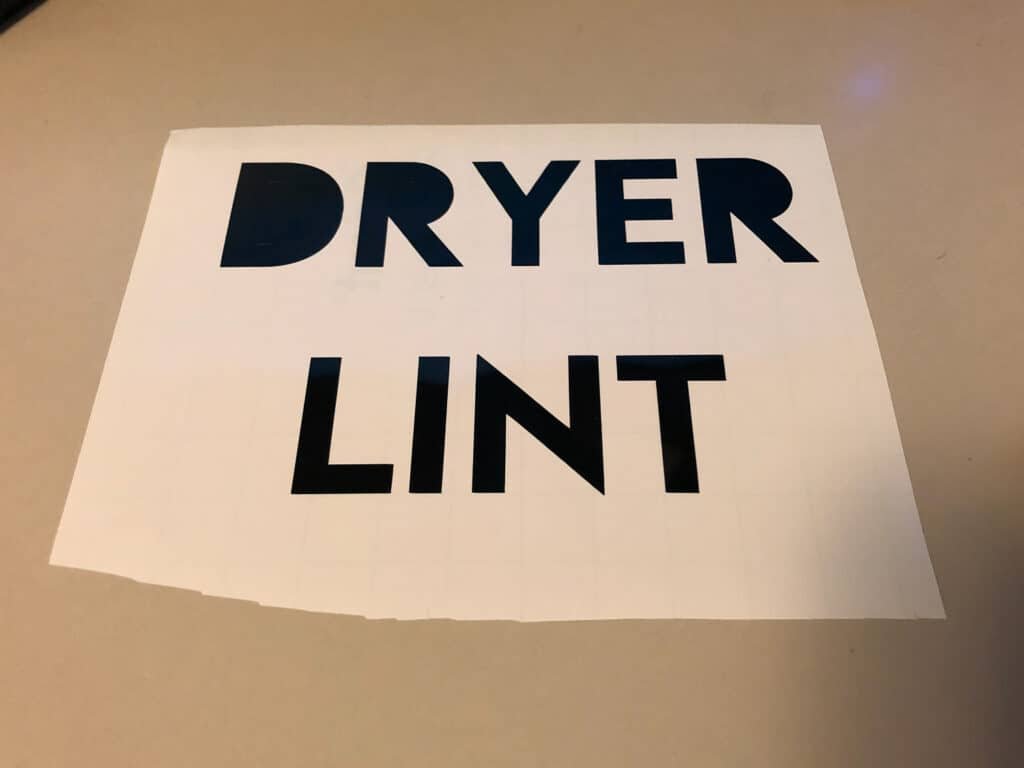
Excess vinyl removed 
Weeded letters
Once the letters were weeded, I cut some transfer tape the same size as the letters (tip: you can use official transfer tape, clear contact paper, masking tape, or painters tape – they all work great) and peeled off the backing paper to adhere the transfer tape (sticky side on top of letters). Use the Circut scraping tool (or any hard flat edge will work) to go over the letters and make sure they are adhering to the tape. Then slowly peel off the transfer tape from the backing paper making sure the letters come off with the tape. If a letter is not lifting up, then put the tape back down over that letter, scrape again and then try lifting up a gain.
Then place the transfer tape with letters on the container surface and use the scraper to press on the letters again. Lift up on the transfer tape slowly (tip: if the piece isn’t too wide, I find it easier to lift bottom edit up. The letters seem to stick better on the narrower edge). Again, if the letters are lift up with tape, put that section back down and scrape over again.


Then you have your finished piece. Continue using this method with all jars and containers.

Organizing and Using the Jars and Containers
Once the jars were done, I added the items in the correct jar and placed them on the shelf. For items that didn’t go in jars (like liquid bleach, liquid laundry soap, stain sprays, etc), I added to the basket. The Dryer Lint container was placed on dryer to be convenient.
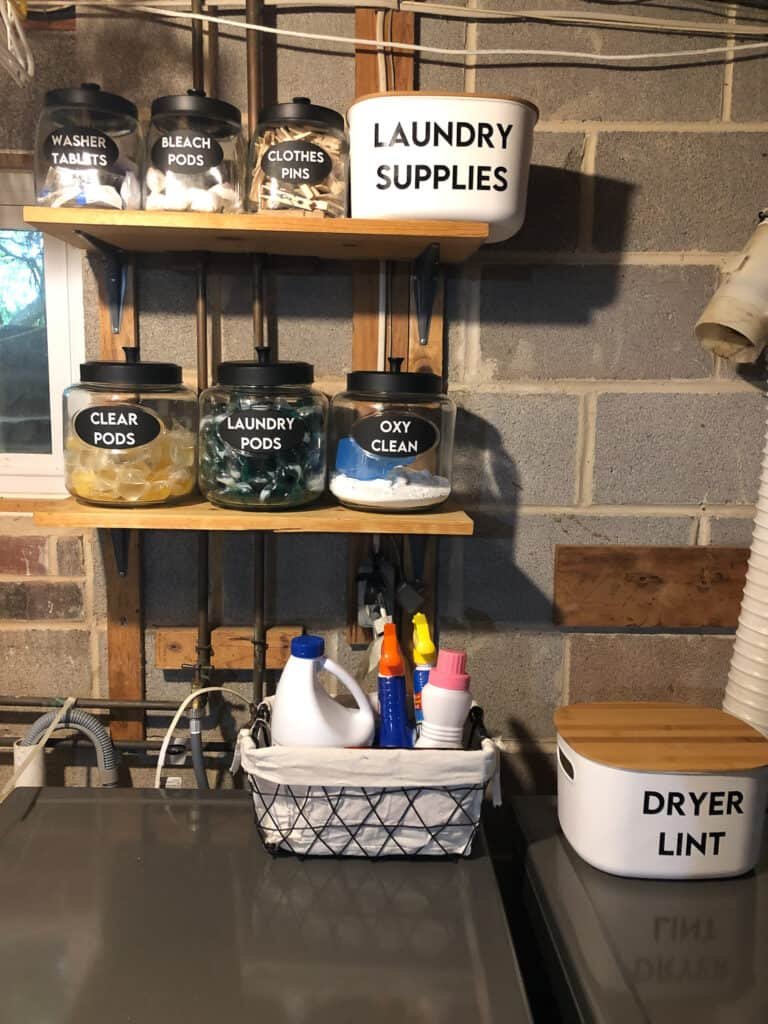
My laundry room looks so much better now. Next step will be painting the concrete block wall, but that is a project for another day.
